Picture this: You’re in your bathroom, enjoying some peace and quiet, when suddenly you hear it — the unmistakable sound of a running toilet. That little leak might seem harmless, but it can waste gallons of water and inflate your utility bills before you even realize it!
If your Sloan flush valve is leaking, don’t panic. This guide will walk you through how to fix it step by step.
Common Reasons Sloan Flush Valves Leak
-
Worn Diaphragm Kit – Rubber diaphragm deteriorates over time, causing leaks.
-
Dirty or Damaged Vacuum Breaker – Mineral buildup or cracks lead to water loss.
-
Faulty Handle Assembly – Worn handle parts keep water running.
-
Incorrect Flush Volume Setting – Wrong adjustment causes constant flow.

Step-by-Step Sloan Flush Valve Repair
1. Gather Tools and Parts
-
Adjustable wrench
-
Flathead screwdriver
-
Sloan diaphragm kit (model-specific)
-
Replacement vacuum breaker (if needed)
-
Cleaning rag
2. Shut Off Water
Turn the shutoff valve clockwise. Flush to clear water from the system.
3. Replace the Diaphragm Kit
Remove the top cover with a wrench. Take out the old diaphragm. Install a new Sloan diaphragm kit.
4. Service the Vacuum Breaker
Remove the breaker. Clean with vinegar and a brush. Replace if cracked or worn.
5. Check the Handle Assembly
Replace if the handle sticks or doesn’t return to position.
6. Reassemble and Test
Secure the top cover. Turn water on slowly. Flush and check for leaks. Adjust flush volume as needed.
If the leak persists after these steps, consider contacting a professional plumber in Easton for further troubleshooting.

Review from a happy customer
Prevent Future Sloan Flush Valve Leaks
-
Inspect valves regularly.
-
Clean components to remove mineral deposits.
-
Replace worn parts immediately.
-
Use genuine Sloan replacement parts.
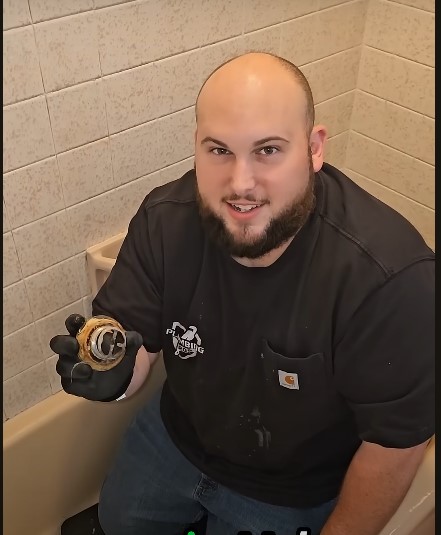
Salvatore is fixing a Sloan flush
Call Easton’s Sloan Flush Valve Experts
Still leaking? Plumbing Pros LLC repairs Sloan flush valves fast. Serving Easton, PA, our plumbers fix commercial and residential flushometer problems the right way.
📞 Contact us today for Sloan flush valve repair in Easton
About The Author
Salvatore Sciorta
Salvatore Sciorta has nearly 20 years of plumbing experience. After working with his father in New York City, he founded Plumbing Pros in Easton, PA, in 2022, offering both residential and commercial services. With over 350 five-star Google reviews, Sal has earned a reputation as Easton’s top-rated plumber, known for consistently exceeding customer expectations and delivering when it counts. After completing a five-year apprenticeship working with his father in NJ, he spent six years as a union plumber in NY.


